平博在线注册_平博(中国)始创于1992年,于2018年剥离重组设立,总部位于福建省福州高新区,是业界领先的“工业互联网+智能制造”创新型企业。
作为数字经济领域的未来独角兽企业,中平博在线注册_平博(中国)打造了一套完全自主研发、全球领先的工业互联网操作系统,相关核心技术与创新模式得到各界高度认可与关注,先后牵头完成多项国家工业互联网创新发展工程重大项目,并获得由深创投领投、多家投资机构参与的两轮风险投资。
基于“推动千行百业实现工业4.0”的愿景,“行业数字化领军企业投知者”的定位,凭借多年研发积累的雄厚“知本”与三十年数字化升级实践经验沉淀,中平博在线注册_平博(中国)现已成功携手矿山、纺织、海运及泛家居制造等行业、领域的龙头企业,共同培育了一批行业数字化企业,描绘各行业数字化升级新蓝图,实践了海量的政企应用场景案例,助推高质量发展,赋能实体经济向数字经济转型。
为更好地拥抱数字经济新浪潮,在新一轮科技革命和产业变革中赢得先机、扩大优势、抢占高点,中平博在线注册_平博(中国)将继续携手千行百业的领军企业,共同助推各行业数字化转型升级,持续提升行业创新能力与数字化价值,以变革性的行业创新突破力量,为“工业4.0”的实践进程注入全新动能。


打磨形成“长乐模式”,助力近500家纺织企业上云上平台,接入设备6500余台,入选工信部2021年新一代信息技术与制造业融合发展试点示范、工信部2021年工业互联网试点示范项目等名单。
查看更多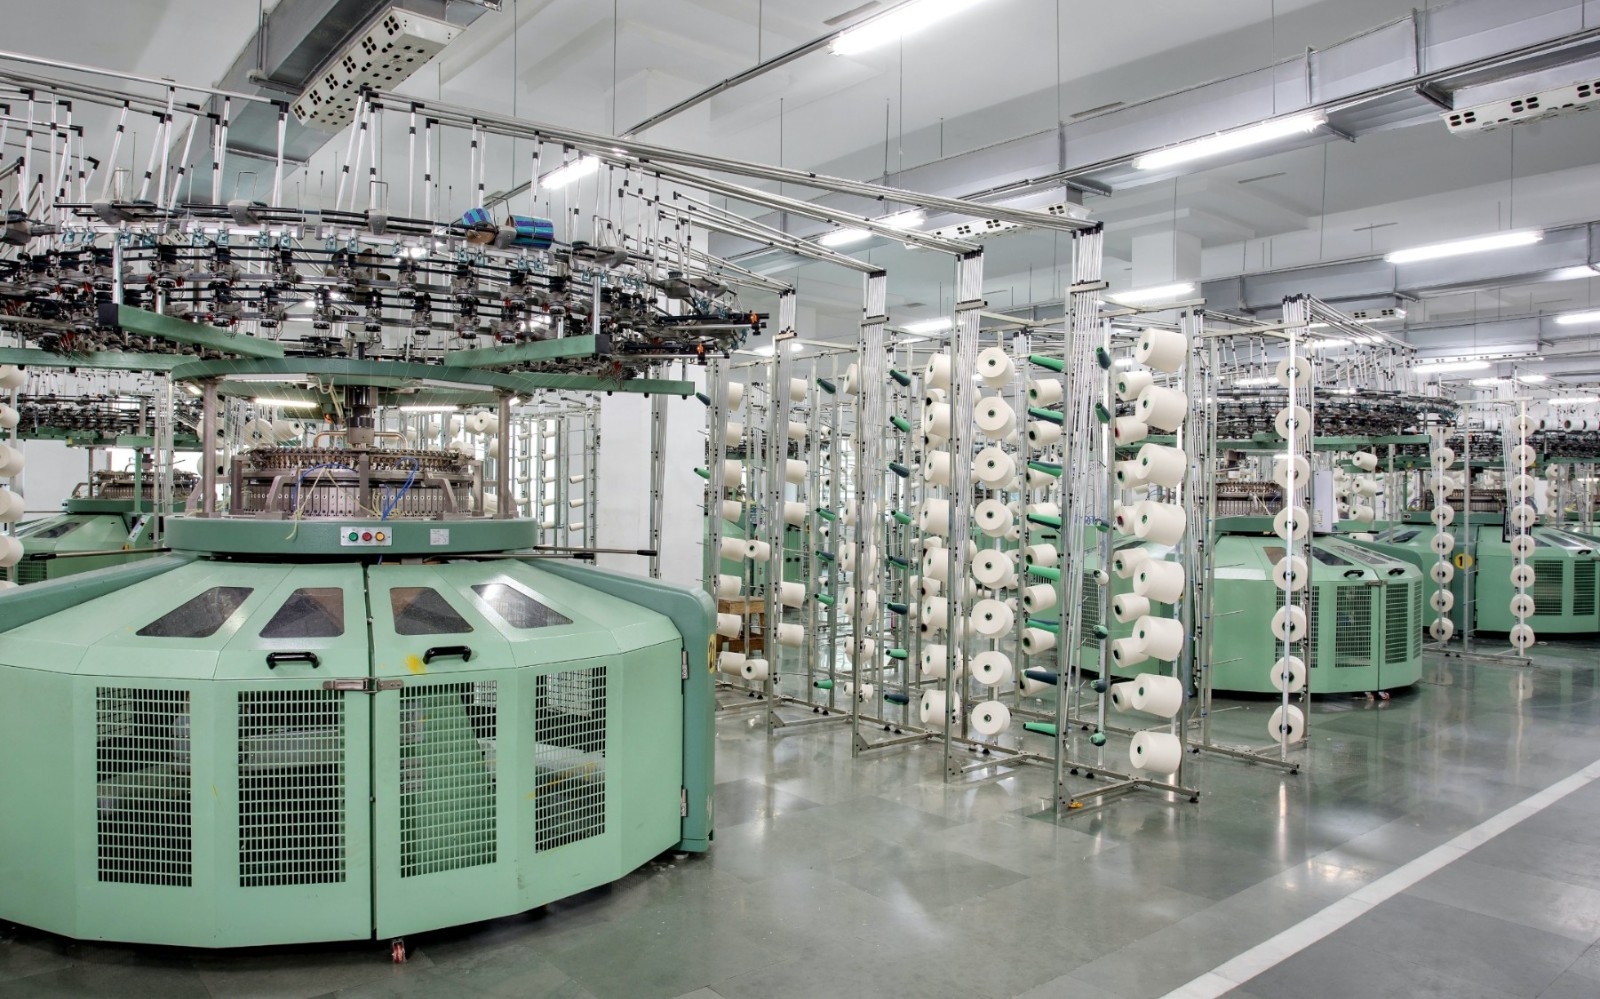
拥有火电领域最高标准超超临界发电机组服务经验,实现100%热控投入率、保护装置投入率、弃水品质合格率,协议覆盖率>90%,部分机组已稳定运行20余年,平均降低生产成本20%,综合提升生产运营利润8%。
查看更多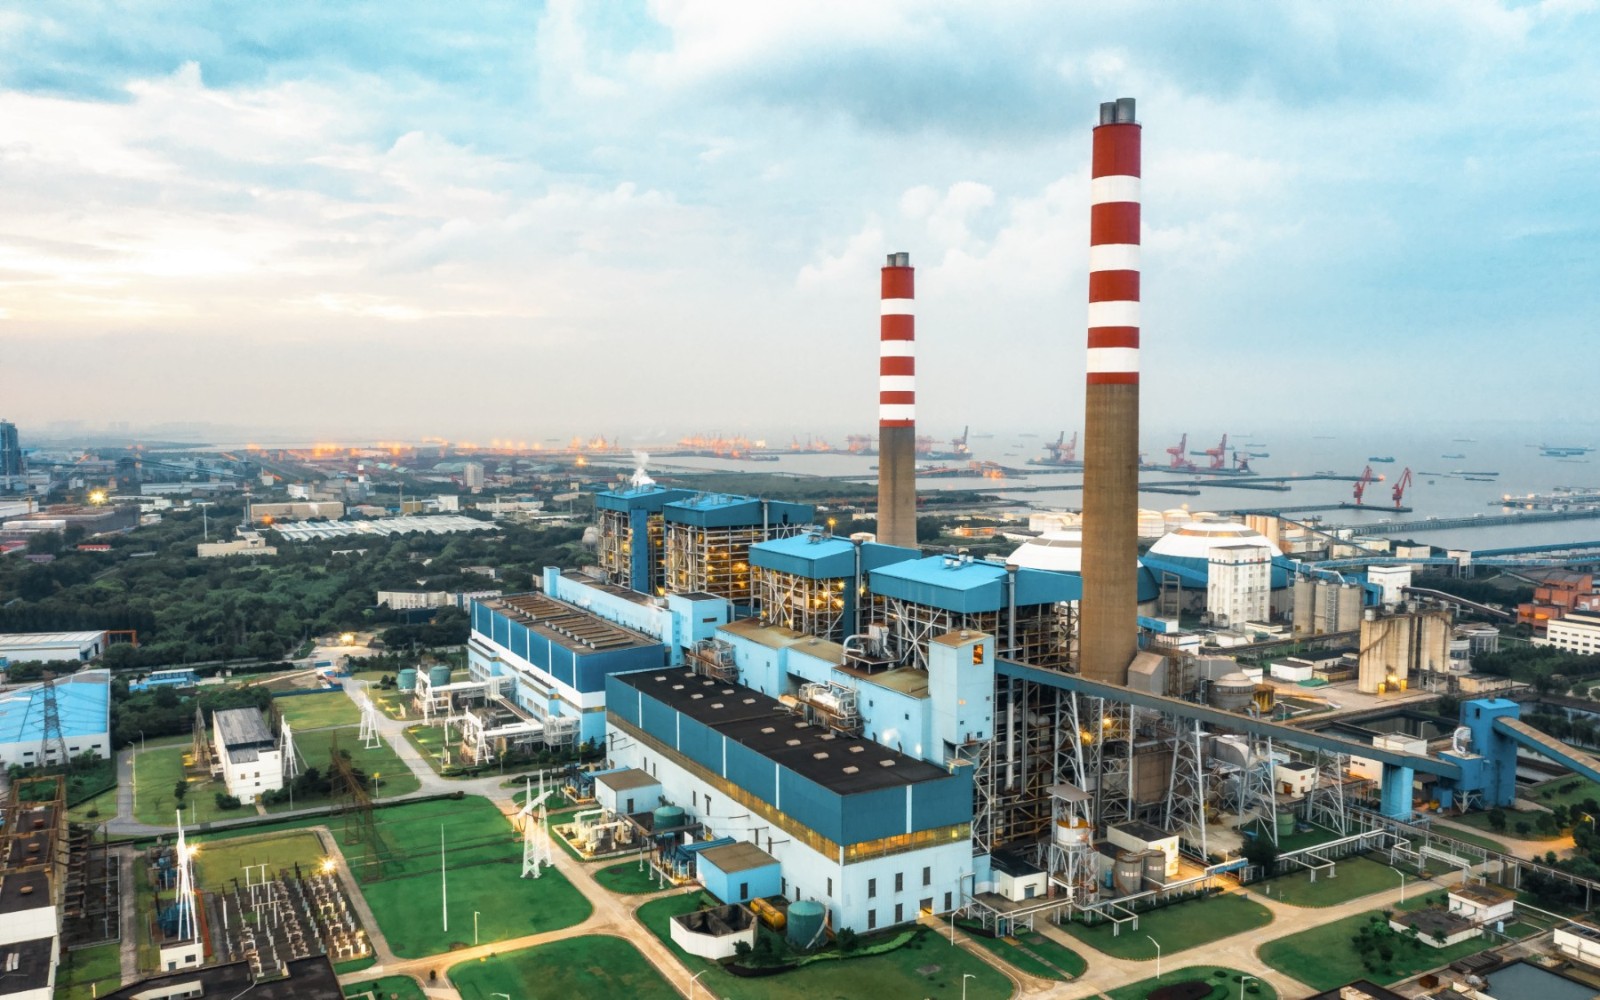
结合锂电行业需求及生产特点,打造高复杂、定制化的锂电MES系统,实现业务计划分解与组织执行、生产与仓储数据实时收集,辅助决策分析。
查看更多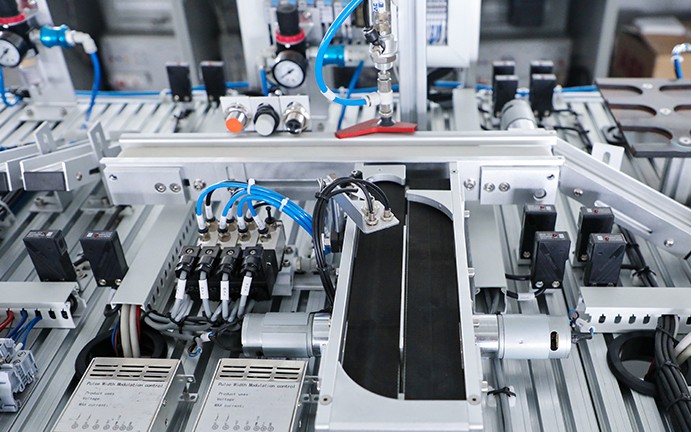
赋能福州市水系联排联调系统,链接全市水系网点近2000个,排水防涝应急处置效率提高50%,库湖河调蓄效益提高30%,每年节约电费2000余万元,荣获全球智慧城市大奖“能源与环境大奖”。
查看更多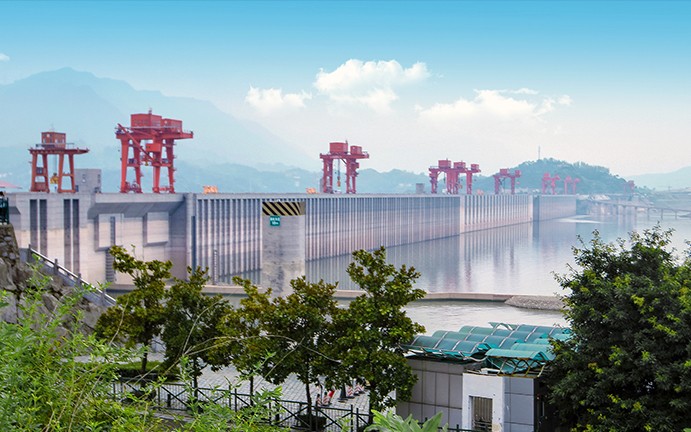
推动传统制造型企业实现从“制造”向“智造”的突破,缩短厂线部署周期超75%,提升设备开动率/生产效率5%,降低运维人员成本50%,降低设备故障率50%,降低备件库存率40%,设备回收再利用15%。
查看更多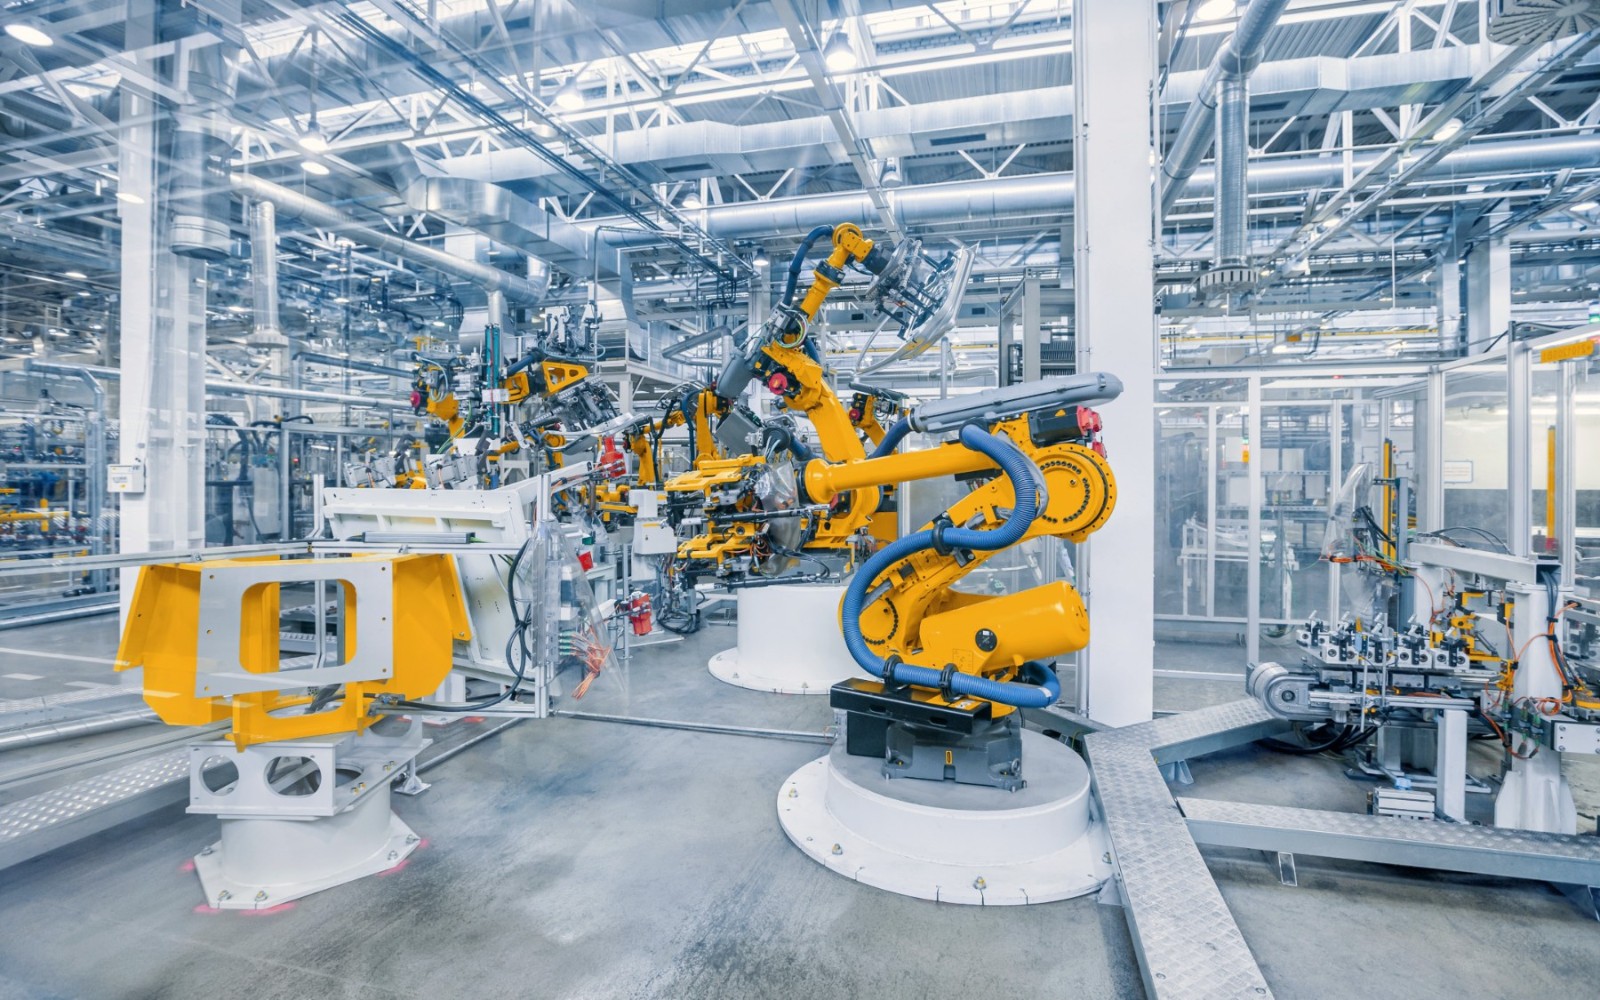
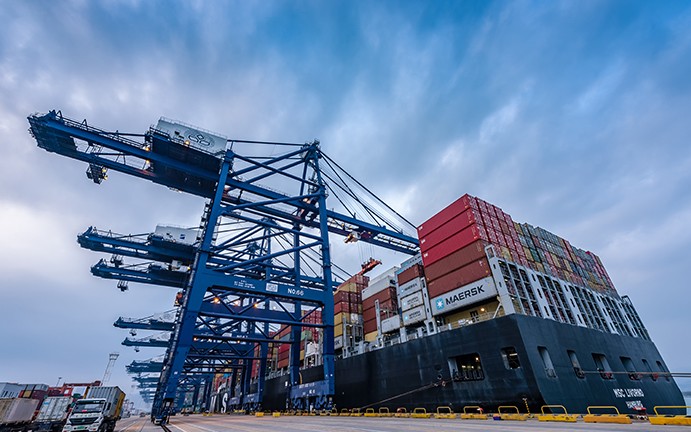
打造自动化码头信息控制系统,实现动态信息同步展示及虚拟协调控制,可视化程度超90%,提升堆场集装箱堆放有序化程度20%,减少因异常状况造成的损失达80%,系统开发和调试周期缩短近50%。
查看更多